Covid-19 analysis
How to use
Hello! We are very happy you have decided to use our application, here we are going to show you how.First of all, you need:
Step 1. Launch an instance m4.xlarge.
Assure you have selected “Ubuntu Server” as AMI and then choose m4.xlarge as instance type.
Finally, connect the instance to the MV through SSH command:
# ssh -i "keyPairFile.pem" ubuntu@PublicIP
$ ssh -i "keypair.pem" ubuntu@31.145.32.255
Step 2. Download dataset and upload to your new VM.
Download the followings datasets through the urls included on this web:You also need the Application folder located on our Github Repository.
Now it is time to upload these files to your bucket (previously created with Amazon S3) using the following command:
$ aws s3 cp Application s3://mybucket/Application --recursiveStep 3. Spark installation.
$ sudo apt-add-repository ppa:webupd8team/java
$ sudo apt-get update
$ sudo apt install openjdk-8-jdk$ sudo apt install scala$ sudo apt install python$ sudo curl -O
http://d3kbcqa49mib13.cloudfront.net/spark-2.2.0-bin-hadoop2.7.tgz
$ sudo tar xvf ./spark-2.2.0-bin-hadoop2.7.tgz
$ sudo mkdir /usr/local/spark
$ sudo cp -r spark-2.2.0-bin-hadoop2.7/* /usr/local/spark$ pip3 install pandas$ pip3 install matplotlib$ pip3 install numpya) Add /usr/local/spark/bin to PATH in .profile. To do so, add the following line to the end of the ~/.profile file with a text editor, for example with vi ~/.profile.
export PATH="$PATH:/usr/local/spark/bin"c) Include the internal hostname and IP to /etc/hosts with a text editor, for example with
$ sudo vi /etc/hostStep 4. Execute run.sh
We’ve almost got to the interesting part, but first run the following commands:
$ cd into /Application/src/
$ sh run.sh
Step 5. Run the application.
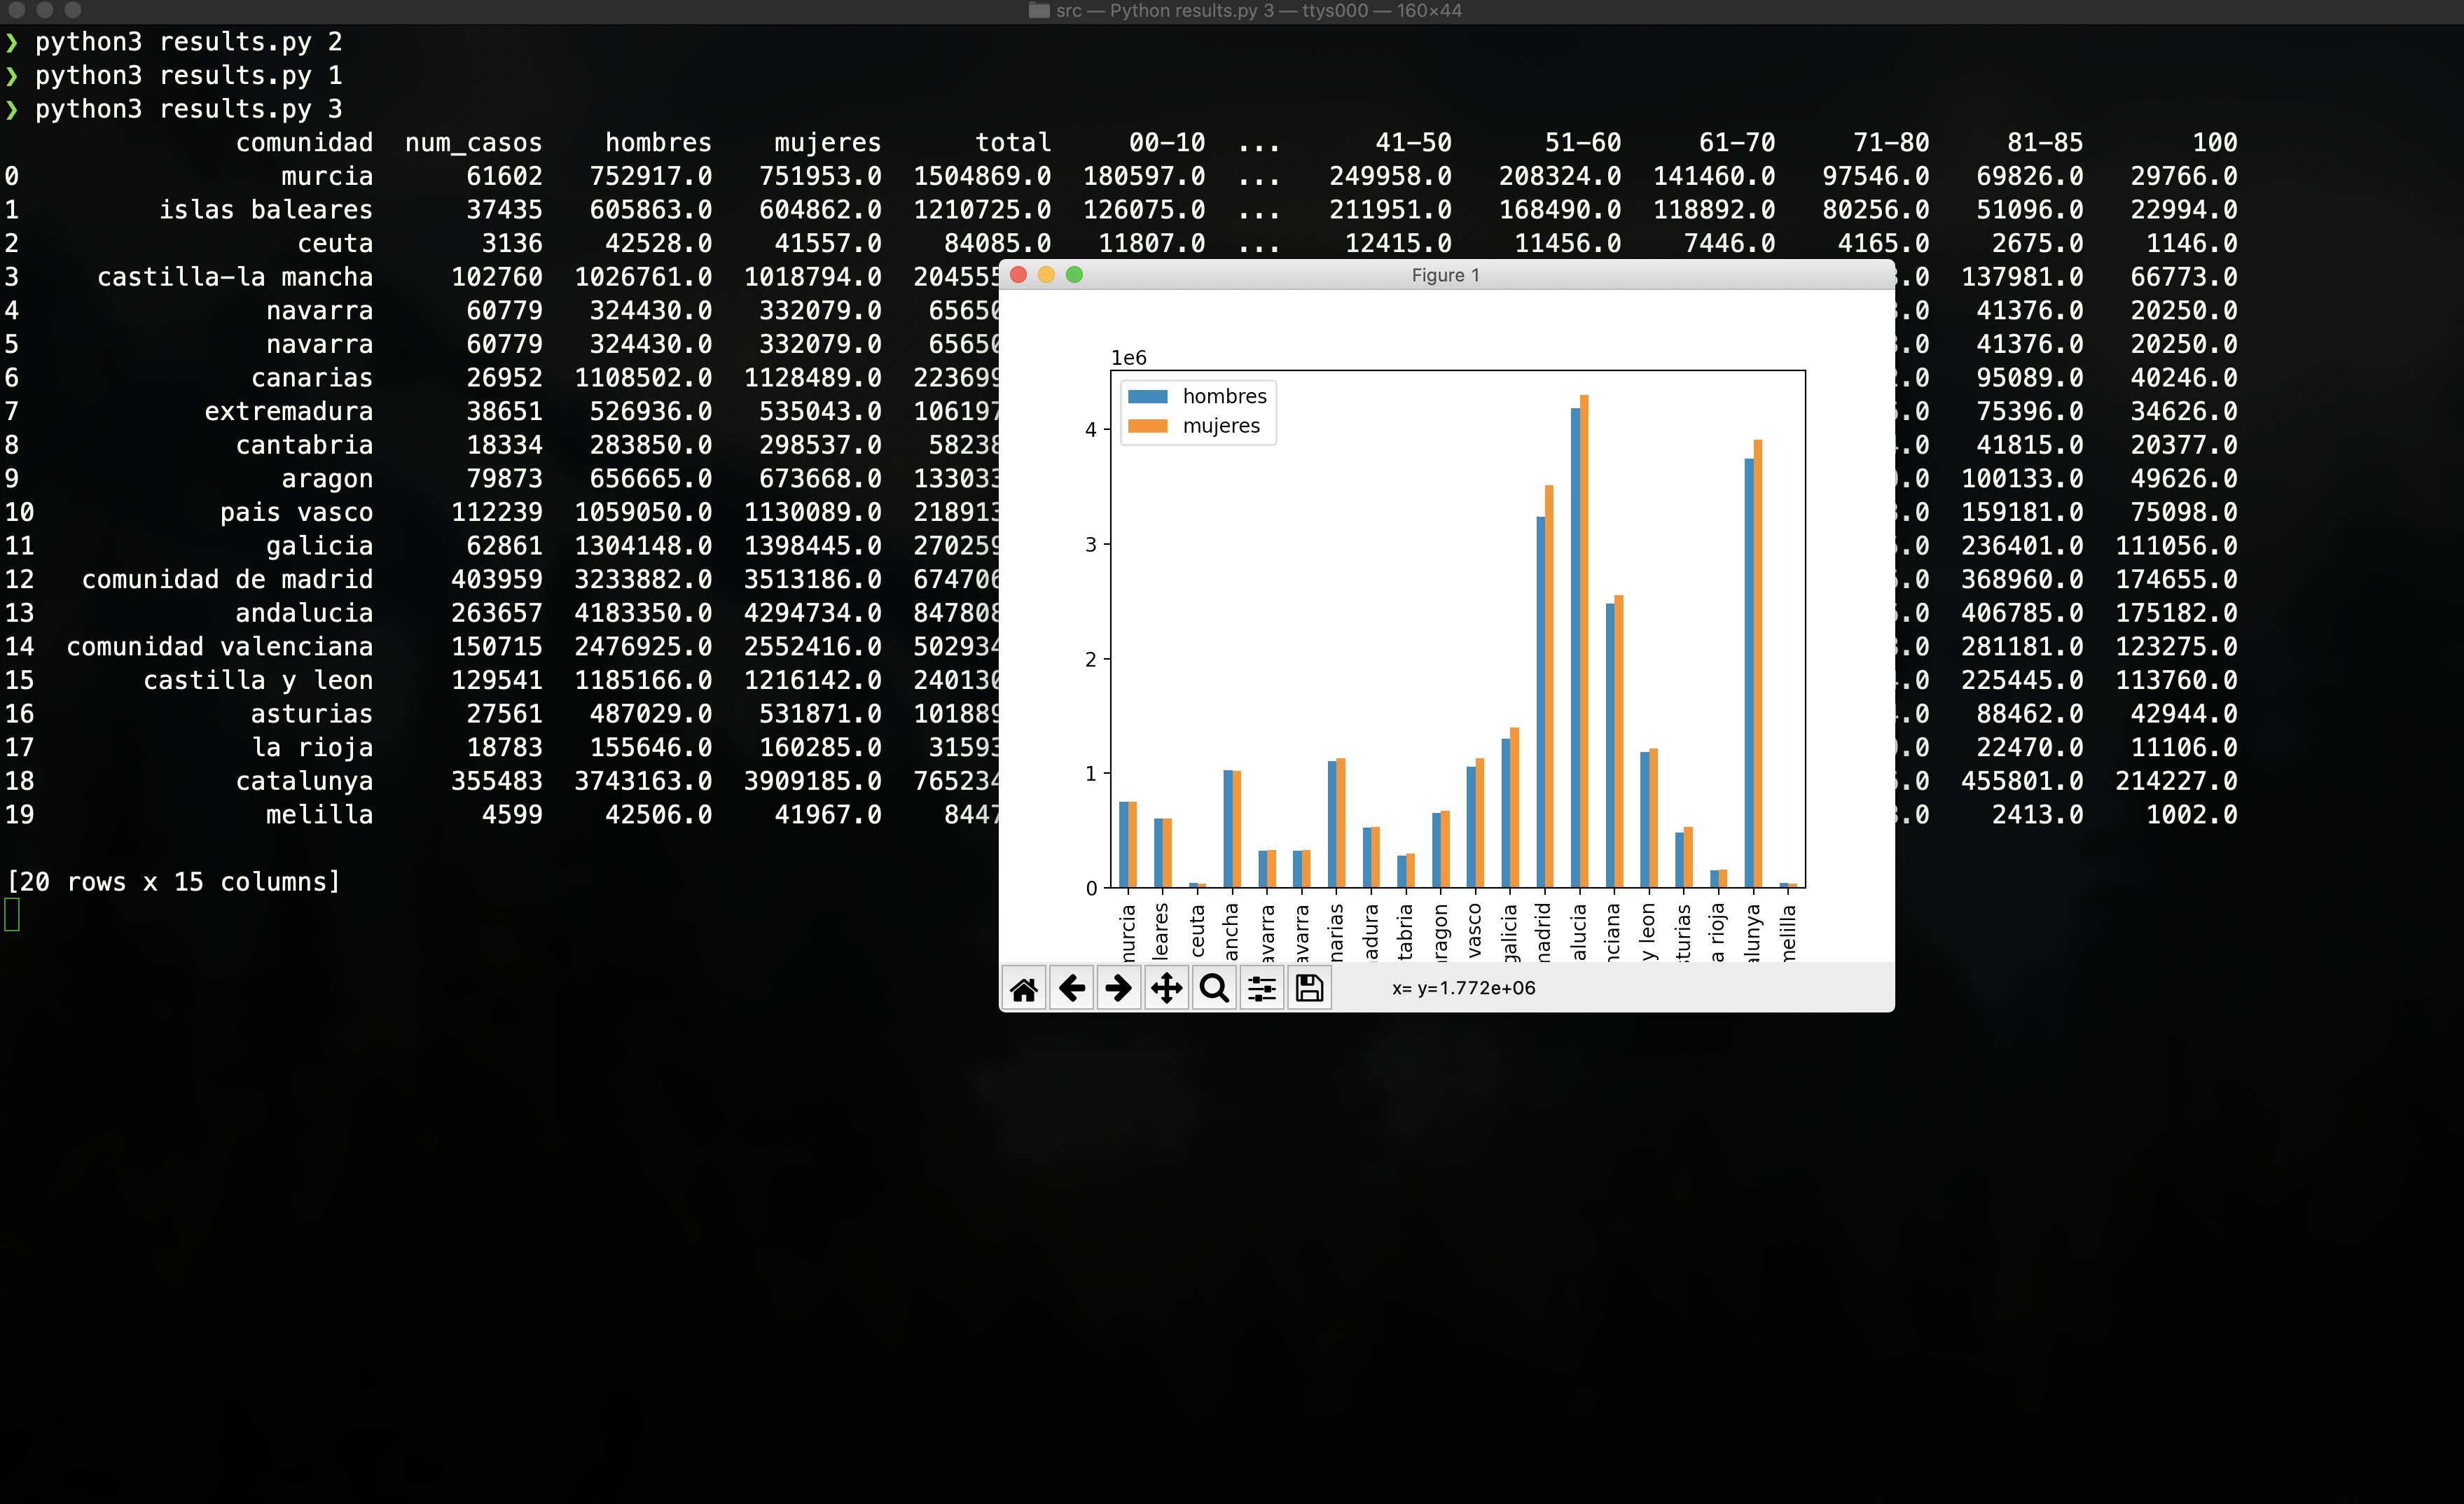
Now it is time to try the commands to get the results:
$ python3 results.py 0$ python3 results.py 1$ python3 results.py 2$ python3 results.py 3Step 6. Investigate your results.
A window should appear on your screen displaying a chart like the following one: